This past weekend, while in one of my favorite stores (Anthropologie) I saw this great dress. I didn't buy it...not because of the price although sometimes that is the struggle between me and Anthropologie! Their stuff is pricey but SO worth it! Always quality while being unique and different and statement pieces, which I love but the deal with this dress was it was a little more fitted on the top than I like to wear. I LOVED the essence of the design so I thought to myself I think I can do that! This is the dress that inspired this tutorial...
Knowing I wanted a top that would go with black "leather" type material on the bottom but more loose fitting than the original Anthropologie dress, I was excited to find this top. It was perfect!
You will need the top you have decided on and the leather-like fabric for the skirt. I found this fabric for a little over $7 at
Forsyth Fabrics here in Atlanta.
I will just refer to this as leather in this post even though it isn't really leather but leather-like.
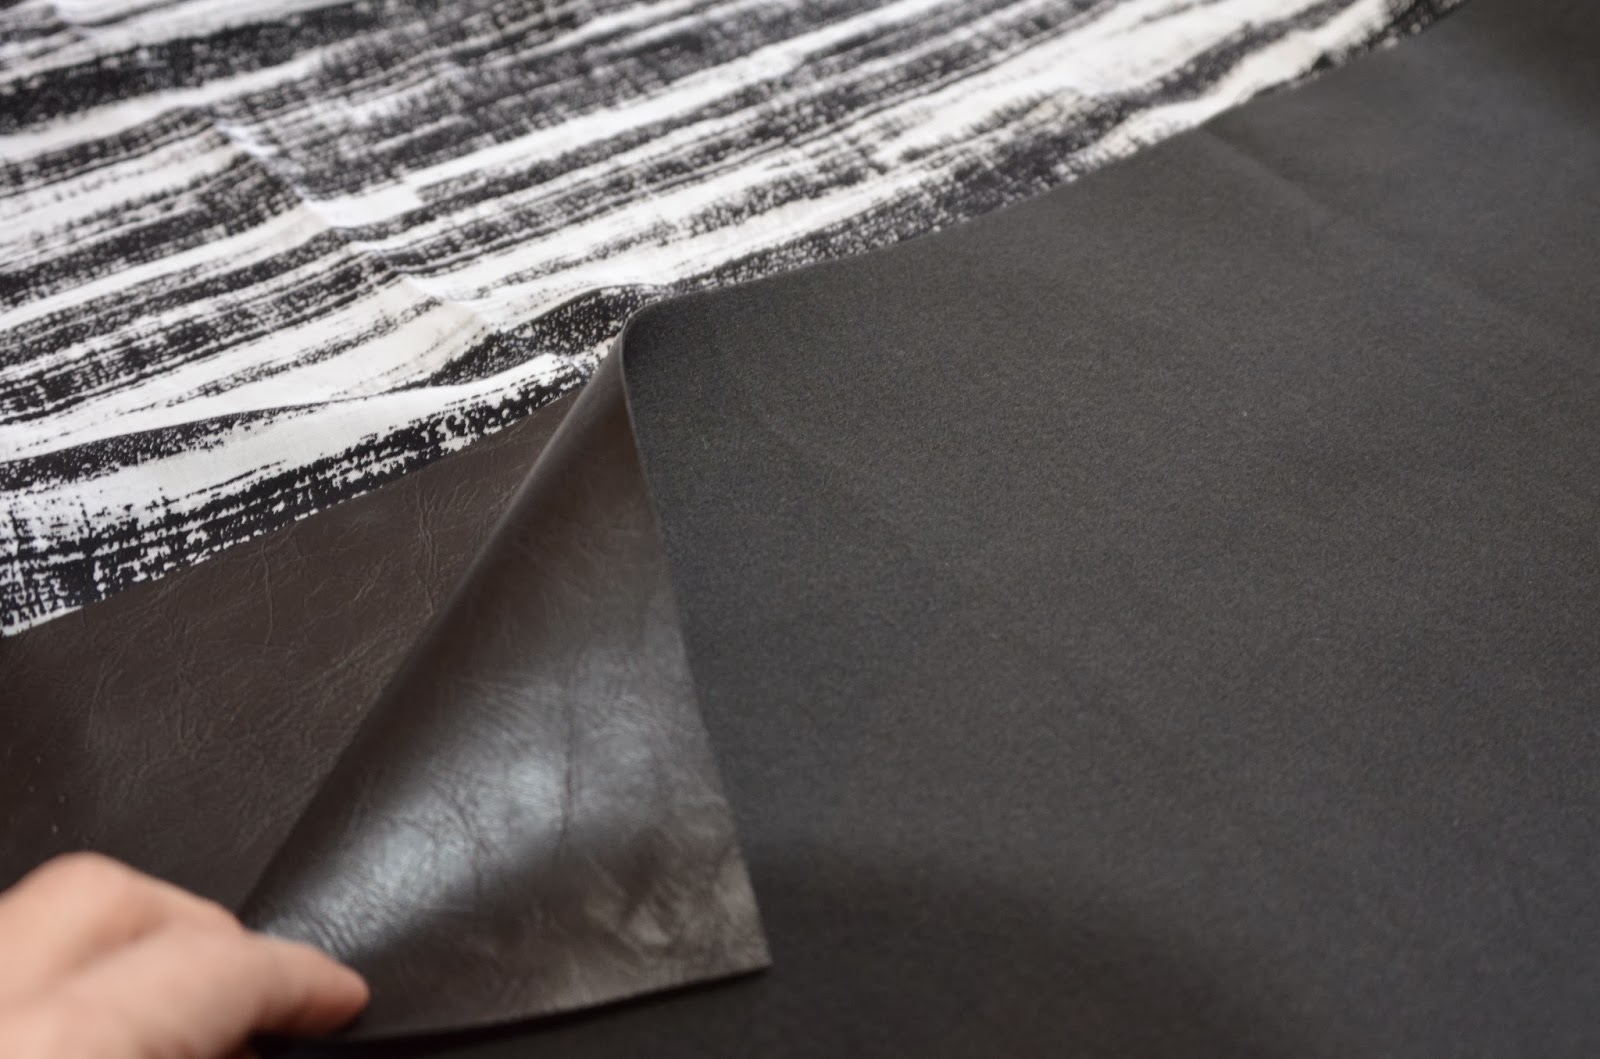
Here is a close up of the back of the skirt fabric....so soft! That was a factor when choosing it because some didn't have this soft felt backing. Don't forget to think about that!
You will need: a sewing machine with a heavy duty needle, a tape measure, a ruler (optional), cloth scissors, seam ripper *just in case you need to remove seams*, a hem measuring thingy (optional), and some masking tape (I am using 1/4 inch artist tape - just what I had in my workroom)
About my machine ....it is just an inexpensive Brother machine that I bought one day because my other one died in the middle of a project and I literally ran to Walmart and got it. It is a Project Runway edition and who doesn't want anything that is associated with Tim Gunn!? He is so awesome! Anyway, I was looking for a machine that did straight stitch and zig-zag stitch because essentially that is all I use....it has about 70 more features that may come in handy one day :) but for now straight or zig-zag is about all I need for most things. Oh, and BTW, its been a great machine.
I tried on the top (I am going to call this the shirt for simplicity sake) and decided where I wanted the skirt to start. I wanted the leather to start about an inch from the highest point of the shirt hem.
I measured across the top to figure out how long the strip of leather needed to be to go around the shirt.The shirt was 20 1/2 inches across so it needs to be 41 across PLUS the amount of fabric to make a seam to close the side up. So I will add about and 1 1/2 inches just to make sure.
In order to make sure the skirt will be straight, i decided to put a line of pins across the shirt as a guideline. This will be where the edge of the leather will be.
Ok, so now you have your strip of leather and that will be the skirt. I measured 12 inches for the height of my skirt - you can always make it shorter! But you can't make it longer :) You will sew the edges of the strip of leather to form a tube of sorts....that will be sewn on top of the shirt later. I am showing you in this photo that the fabric has 2 sides. The right side and that wrong side. You will sew the RIGHT sides together.
For ease of keeping the leather together I used binder clips to hold the fabric together to sew it in case it slipped....we can't pin this or it will leave holes in the fabric so NO PINS! Pinning is really important in sewing (I can hear my mom's voice in my head!) to make sure your pieces stay together so take a couple of seconds to do it. It sure saves the time of ripping out seams later because you didn't! Not that I have ever done that!! :)
Sew the edge of the skirt piece.
Trim the excess fabric off - I leave about 1/4 inch or less past seam for most things.
Now because you sewed the edge you have created a tube of sorts. We will call it the "skirt tube". Turn the "skirt tube" right side out....meaning get it to where the right side is where you are looking at it. Then tuck the shirt into the "skirt tube" like you are tucking in a pair of pants.

THIS IS WHERE IT GETS AWESOME! The dress in Anthropologie was top stitched - means it literally has the seam showing on the top and this keeps getting better by being able to tell you that the leather fabric doesn't even have to be hemmed!!!!! HOLLLA!!! You literally cut it - yes! that is all. And it does not fray or unravel. What gets better than that!? I was so excited at this point!... so your shirt is tucked in and you have the pin guideline to bring your leather up to and it will be straight because your pins are straight. Get your tape and tape the edge of the leather down to the shirt. Keep it straight because you will be sewing it and won't be able to see the edge so I used the tape as my sewing guideline.
Next literally run a straight stitch along the edge of the tape all the way around the skirt. Because you measured carefully, and you pinned a straight line and taped it and now stitched it you will, in just a few moments, have a SUPER CUTE dress to wear!
After you finish your topstitch around the skirt, peel your tape off, cut off the extra threads and try it on to check the finshed length. I ended up taking almost 3 inches off the skirt for it to hit me where I wanted it to be. That wasn't a problem though because I literally cut it - no need to hem! And **drum roll please** here it is!! I am sooo excited to share this and probably even MORE excited that I get to WEAR IT!!! Yay me!
I am working editing a video that I did for this (first video by myself ever!) so stay tuned for that :)
If I can do it, YOU can do it! Give it a try and I hope to see some of yours soon!


No comments:
Post a Comment